I started off browsing through the Internet and waiting for any special design to pop out at me. My original intention was to just find something that I could replicate. I didn't see anything that I just fell in love with. So I decided to combine ideas from various designs that I liked. What I ended up with was 12 different designs! Sometimes when my creativity is lit, it doesn't just spark, it blazes!
So after matching design colors to the other colors I want in the wedding, these are the designs I came up with.


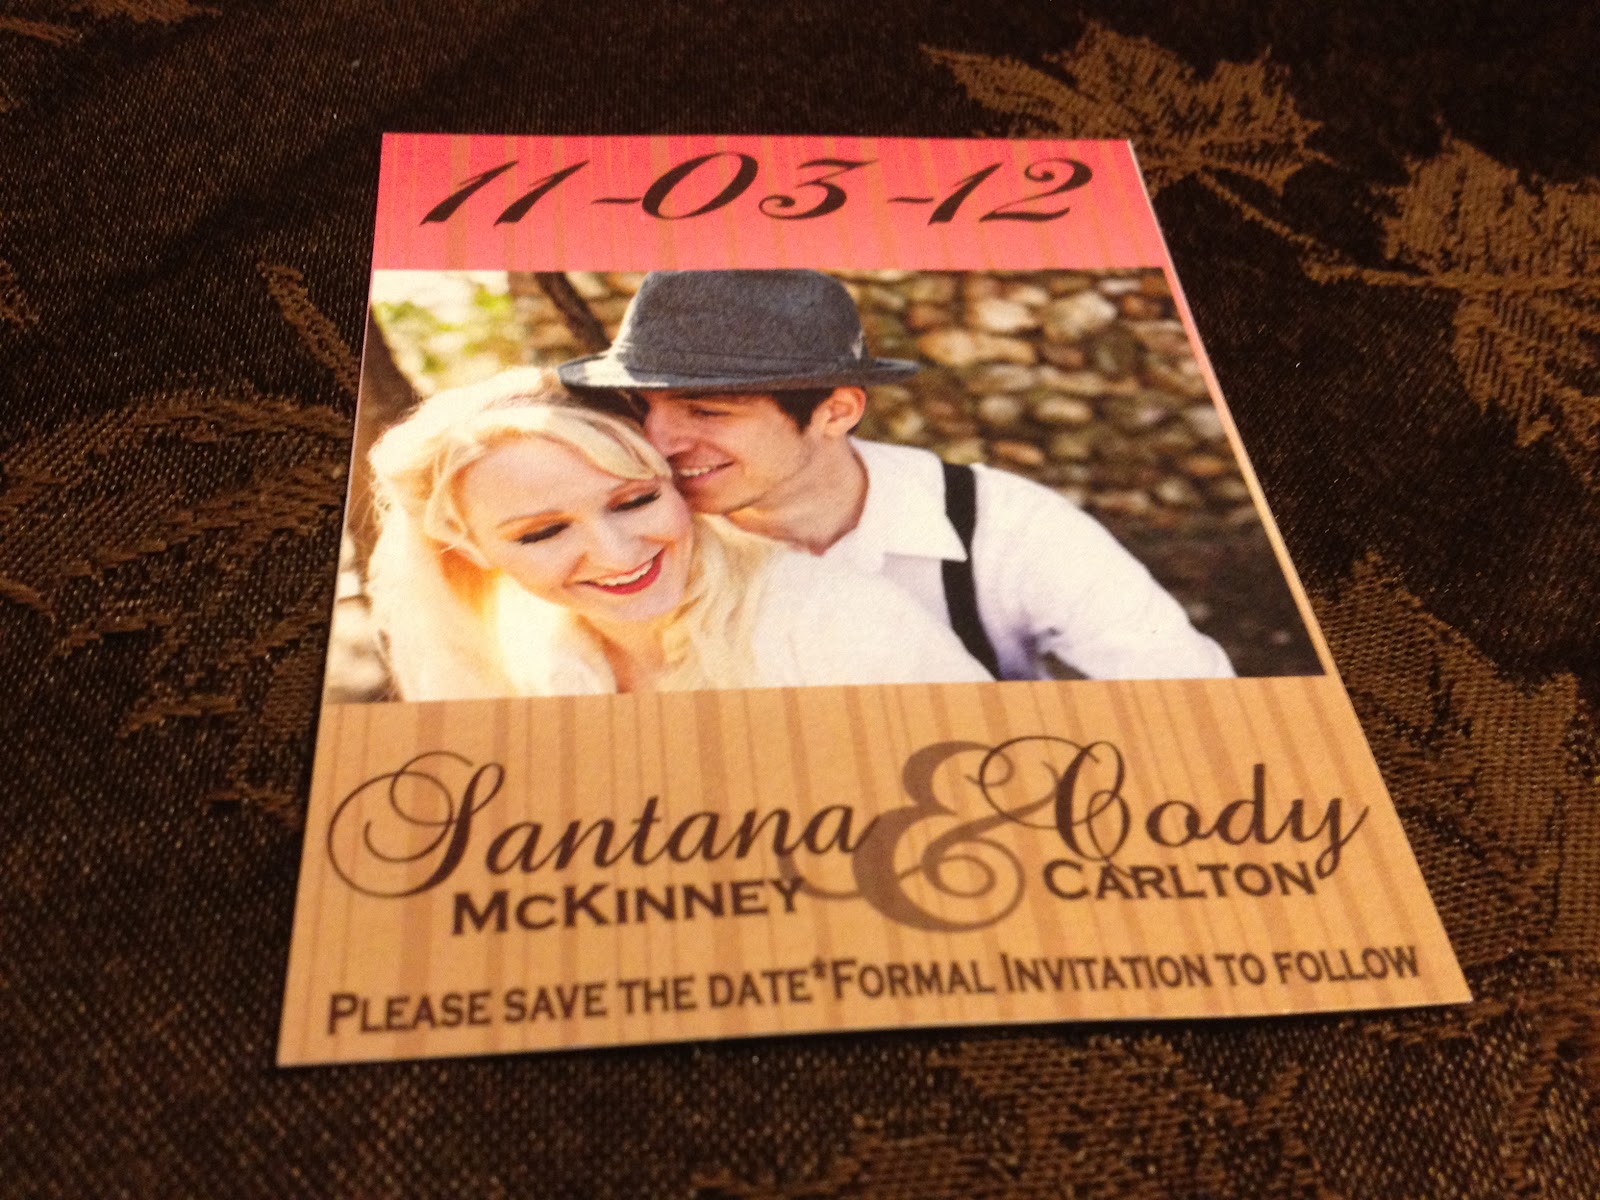


What do you think? Yes, I now have 12 designs to give away. How could I possibly choose just one?
They are all so cute! Besides, who says you can only have one?
I'm very please with how they turned out. I'm even thinking about selling my designs on Etsy.
After this wedding is over of course. ;)
So after the design process, I had them printed on Heavy Card stock at PostNet and Office Max for about .42 cents a sheet.
Next, it was time to get them ready for delivery!

First, I made these adorable little burlap pouches for the cards that will be hand delivered.
I got the idea from this picture on Pinterest.

And this is my version...

...without the tags on though. I bought a big roll of burlap from the garden section in Wal-Mart, cut out various sized squares, and hot glued the edges to card stock. The picture from Pinterest looked like they sewed the edges, but my thread was going right through it and fraying the edges.
So I decided hot glue would work just as well.

I then cut each card out with my Xacto paper cutter.
This took around 2 hours to meticulously cut each card out straight and even.

Once all the cards were cut out, I cut and hot glued small pieces of strip magnets to the back of each card. I really wanted each card to be a magnet, so that guests could place their cards on their refrigerators or other magnetic surfaces.


The next step was to punch out all of the tags that I also designed. I chose six different fonts. Again, how could I choose just one? I used the EK Success Flourish Square punch from Hobby Lobby.

I think they turned out well too. :)
All that was left was to glue the tags to the pouches. I realized that if I glued the tags to the burlap, that the glue would stick to the card stock. So I punched out some blank tags out of the same card stock used for the printed tags, inserted them center inside of the pouches, and glued the tags on the outside to the blank tags on the inside. (Excuse the lack of photos for this step. I randomly did this one night and didn't think to get out my camera). After hot gluing all of the tags to the pouches, I just slipped in a card that best fit each pouch and TA DA! The Save the Dates are now complete!


After 6 months of preparing these (yes, all of this was over a period of 6 MONTHS) my cards are now ready for delivery!

Not all of these will be hand delivered. Just most of them ;)
I purchased some 'craft' envelopes at Hobby Lobby to mail out to our out-of-state guests. I'm too much of a cheapo to mail them all haha! Why would I spend more money on postage when I literally see these people every single day! I will, however, keep with tradition and mail all of my invites. (And it will kill me to do that! ha!)
Now all I have to do is get them out!
According to my TheKnot timeline, I'm already 2 months behind on these. EEK!
*Photos used for cards were taken by our friends and fav photographers Brooke Bikneris (Brooke Bikneris Photography) and Lauryn Johnson (Olive Photos). Find them on Facebook!*